MAKING ROOM FOR FUN #HARVEYSBIGIDEAS
We’re so excited to be featured on Harveys Furniture Store blog this month! We’ve been working on a campaign with them about a storage solution for small spaces – and with three small boys, and one small house [and a whole lot of stuff], we have to make every inch of the house count, and every space work for us! You can read all about it, along with some other amazing projects on their blog in the link above.
You see, as the boys get bigger, our home is getting smaller and we need more and more storage space. We’ve kind of gotten the toys under partial control thanks to the toy zoo, but the crafting bits and pieces are everywhere. And I do mean everywhere. We were asked as part of the #HarveysBigIdeas challenge to see what we could do!
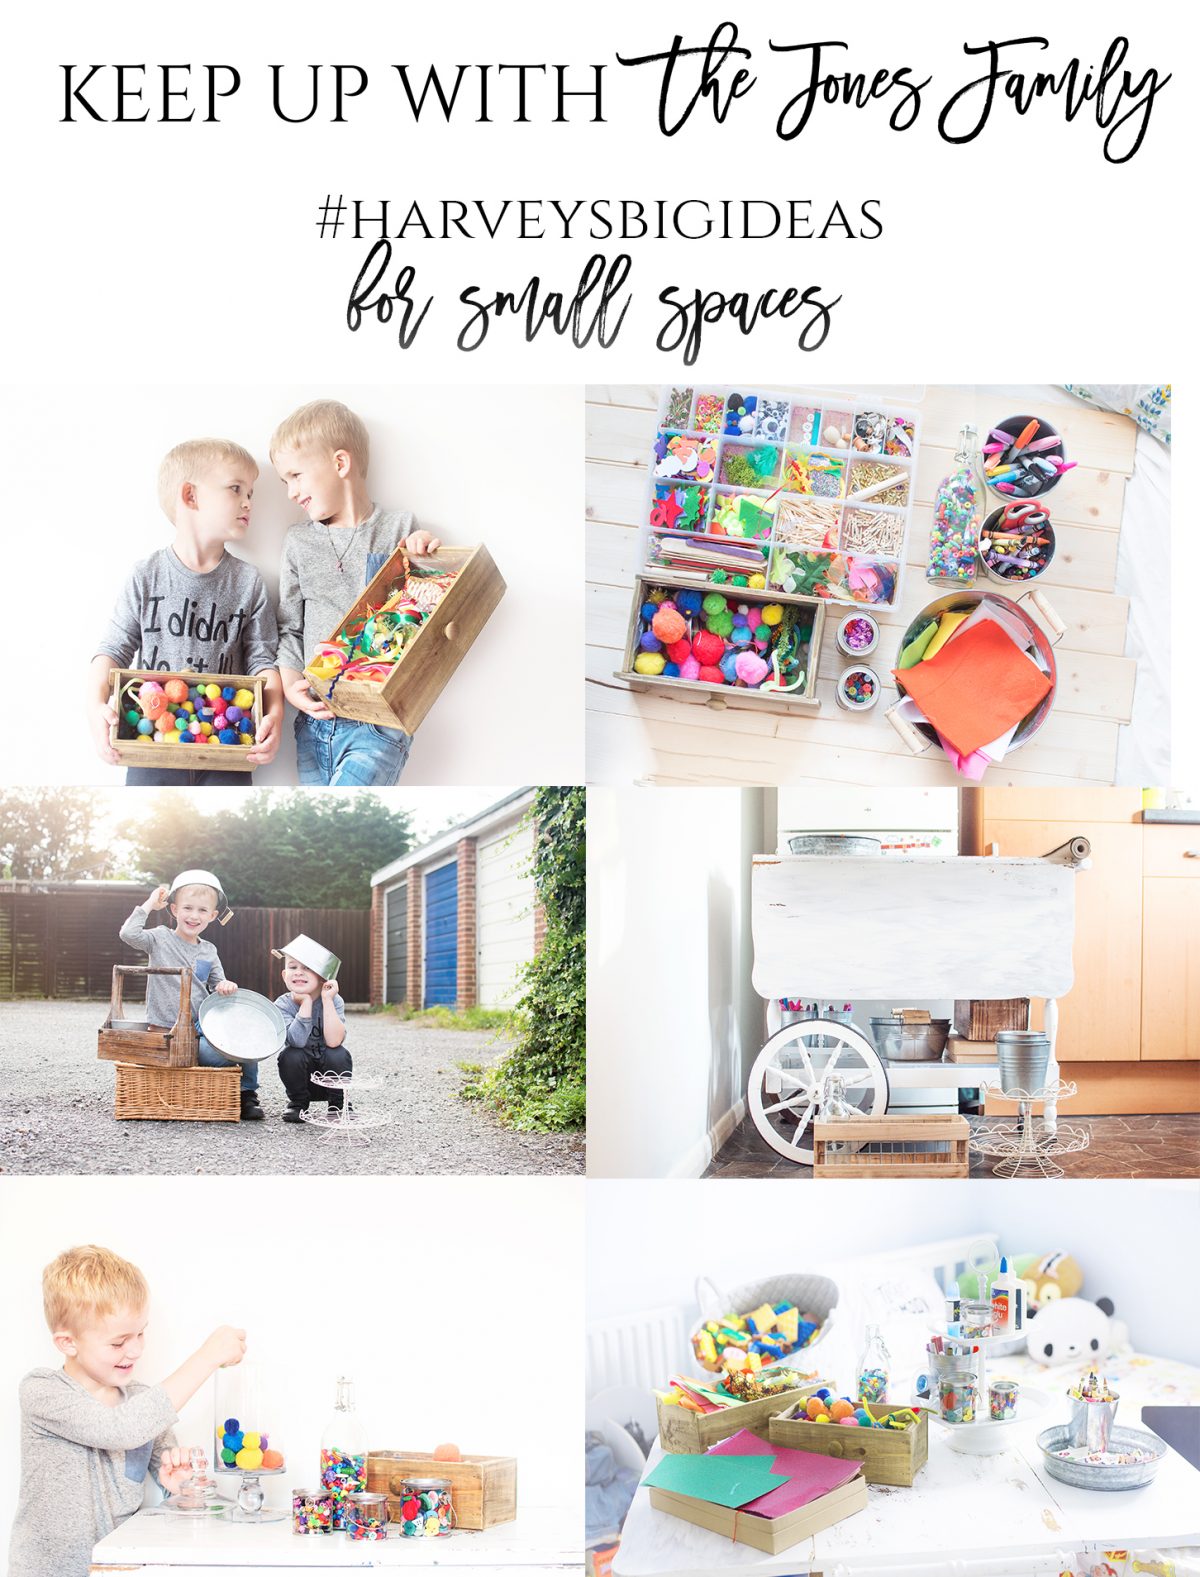
A few months ago in a freebay group I spotted what was listed as a sweet trolley. It’s a drop leaf dessert cart with wheels. It’s battered and half painted, but it’s just perfect for the boys to craft on without worrying that they are making a mess. What’s even more brilliant is that there’s a shelf underneath the trolley tabletop for storage. Now we’ve got the big idea [crafting station] and the small space [the bit in the kitchen by the fridge]- here’s how we put our #HarveysBigIdeas project together.
Step 1: Hunt and Gather
Rally the troops – this is the time to get everyone involved. It will be war, it will be chaos, but the more hands the better. Make it a competition. Send them to the four corners of your house and don’t let them return until they’ve found something that needs to be stored on the table. You’ll still be finding bits and pieces for weeks, but at least by then you’ll then have a base to store it on.

Step 2: Sort it Out
This bit takes the most time, but it’s the most worth it. This is the time to throw out any bits and pieces that don’t work or are ruined, and to see what supplies you actually have that need to be stored. Doing all of this makes it simpler to tidy up, and easier for little ones to find what they want when they’re playing. Spending half an hour rooting about for a googly eye isn’t the best playtime.
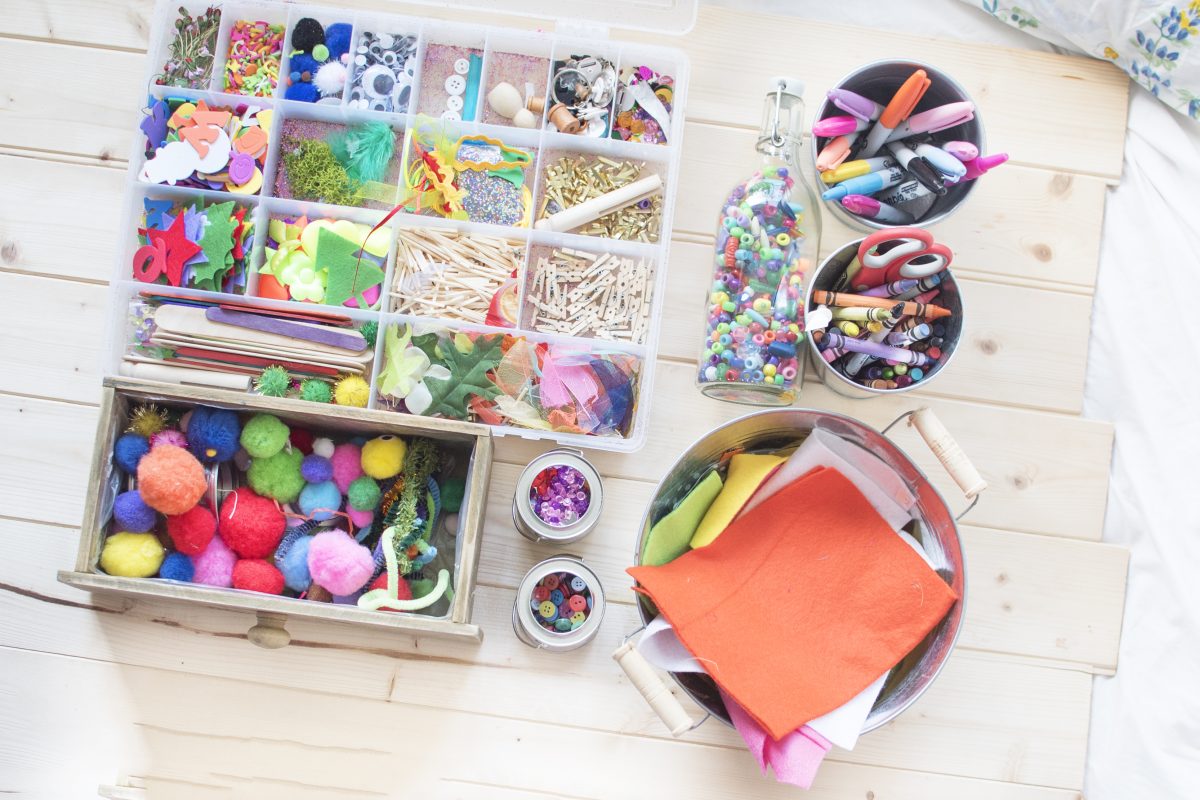
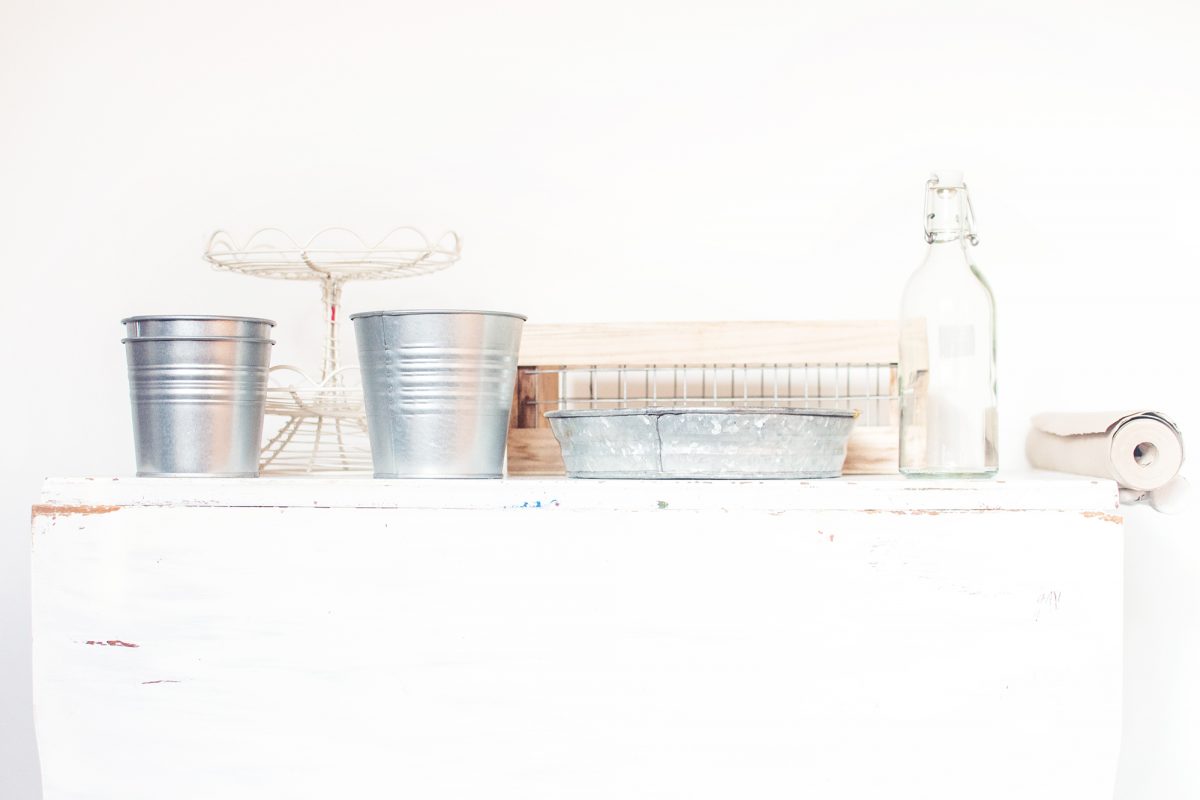
Step 3: Shop the house
If you’re anything like me, as soon as I begin a storage project, my first instinct is to go out and buy more. Pretty boxes, tins, jars, I buy them, but often I don’t need them. I just need to shop my house. House, garage – there’s usually quite a few resources that I already have and can use – and then don’t need to buy. 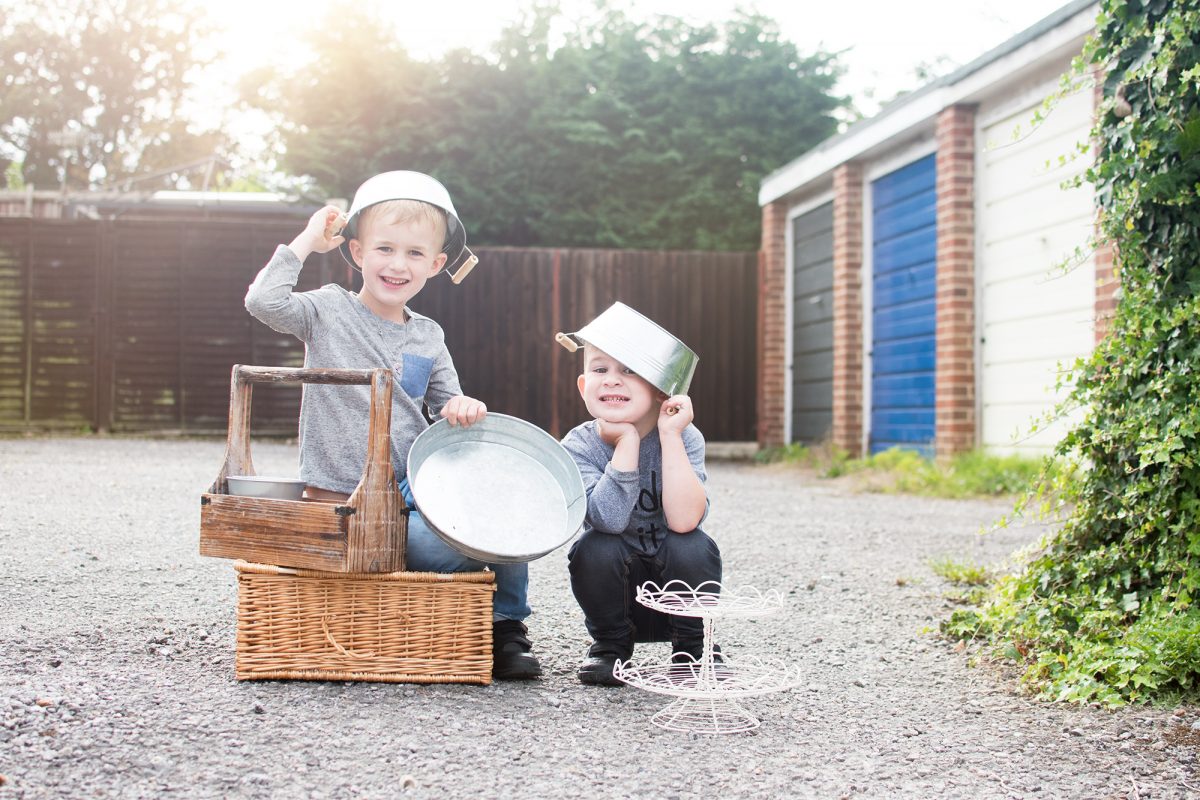
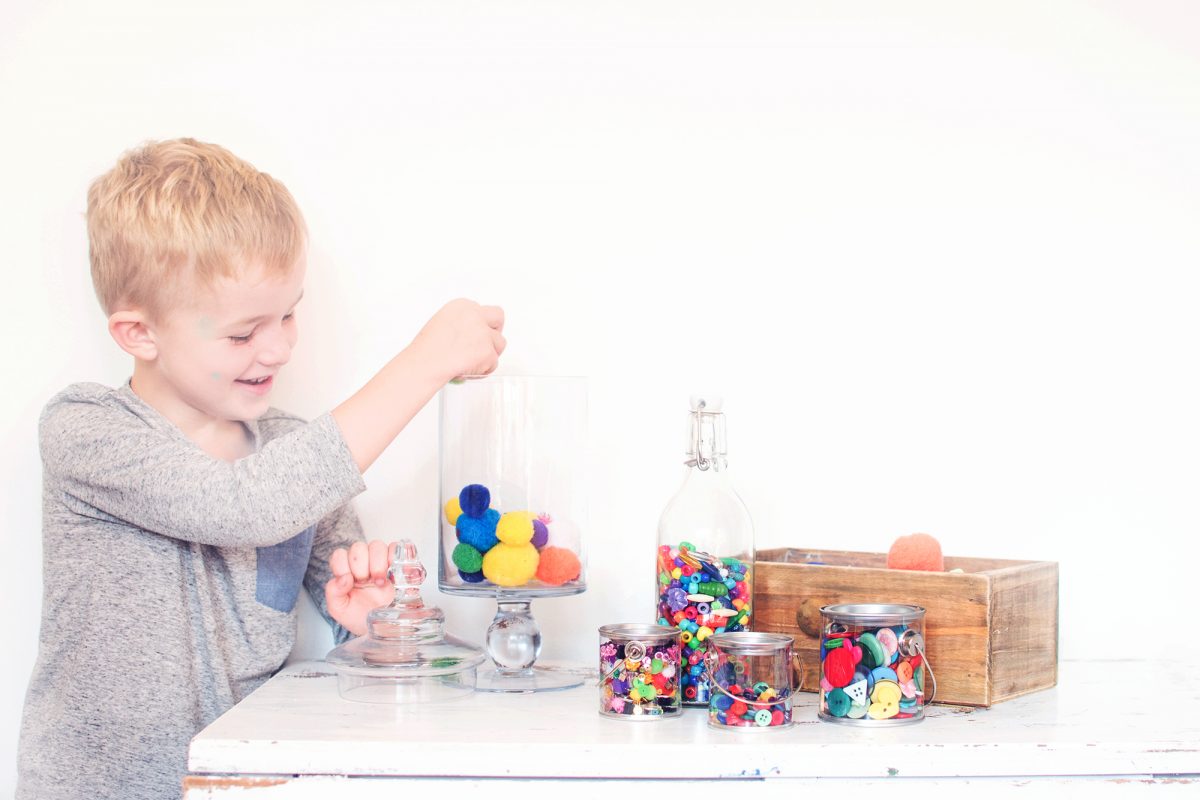
Step Four: Arrange and Assemble
There’s no point in putting all of your pompoms and sequins into boxes and jars and then finding that you’re in fact taking up more space than you were originally, or discovering that your boxes and jars don’t actually fit your storage space.
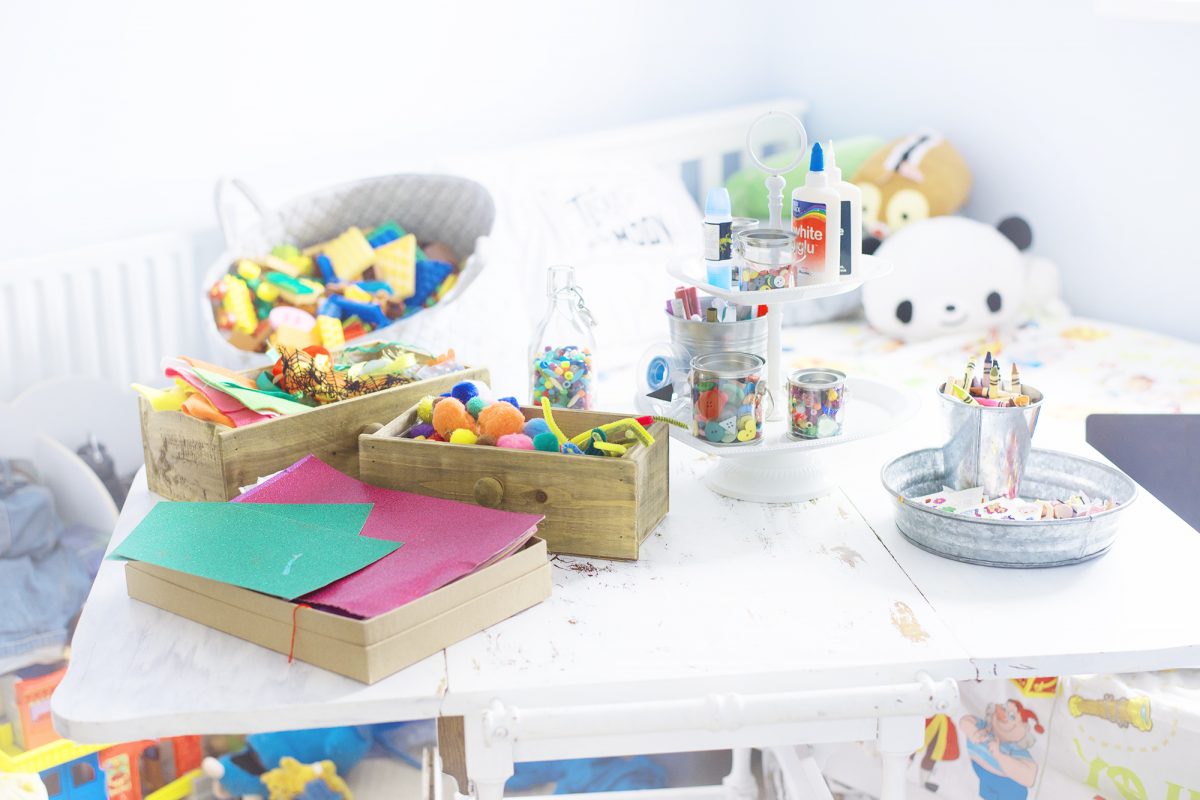
Step Five: Tidy Up
Now you know that everything fits, it’s time to add the bits and bobs, ready for play.
Step Six: Let them Loose
There’s no point in having a beautiful storage space if it doesn’t actually work. We let our boys set up the table and start crafting in their bedroom, and they loved it. Even better, there were no complaints about tidying it up!
If you’d like to see our little video, it’s here:
This is a collaborative post with Harveys Furniture Store. #HarveysBigIdeas